Oilon Heat Pump Configurator
Downloading configuration
The configuration used in building the user interface can be downloaded from Oilon Cloud by clicking on the Download button

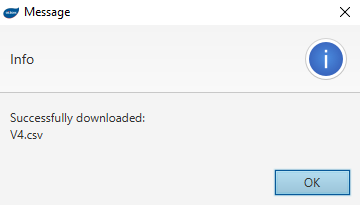
You should receive a message stating which configurations were downloaded

Local configurations
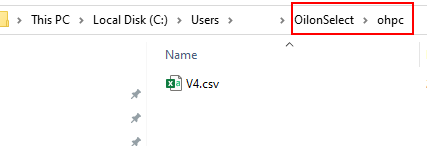
Local configurations can be saved to the ohpc subfolder in the Oilon Selection Tool installation folder.

The saved configurations will be listed in the configurations combo box

Loading the user interface
After downloading or saving at least one configuration, you can load it by clicking on the Load button

Connecting to a heat pump
Before connecting to the heat pump, you must ensure that your computer is in the same network as the heat pump. After ensuring this, you can insert the IP address of the heat pump to the IP Address field. After inserting the IP address, click on the Connect button

Connection status
The connection status indicator uses the following logic:
0 %: not trying to connect
Stuck at 11 % and blinking: trying to connect but the connection to the heat pump has not been established or the connection failed
Rotating yellow: connection has been established, but some packet loss is occuring
Rotating blue: connection OK
Modifying parameters
The parameters of the heat pump can be modified by writing the desired value to the desired parameter and pressing enter. After pressing enter, the value is immediately written to the heat pump. A status indicator of the write command is shown on the bottom of the screen. If there are multiple values being written, the write commands are queued in the order they were issued. If there are connection issues, the write command is retried 10 times.